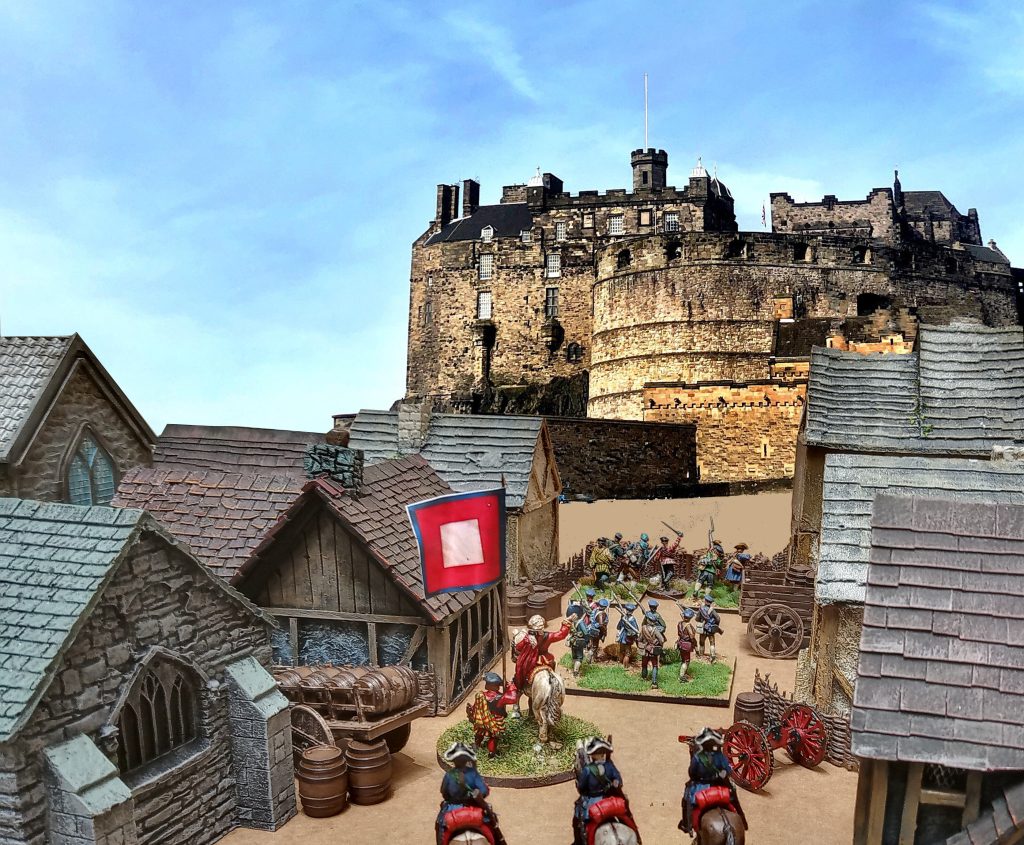
For a full week after the garrison in Edinburgh Castle failed to respond to the Prince’s summons to surrender, the Jacobite army in the capital has been prepared its siegeworks. Given the dominating position of the castle, however, and the Jacobites’ lack of heavy siege guns, there was a limit to what they could achieve. They have sealed off the castle with pickets on all sides of its rocky heights, and have dug entrenchments on Castlehill. Small batteries of light guns and mortars have been erected on either side of the street, mounted on the buildings facing the castle. The cannon are of no use except in deterring any sally from the gates, but the mortars open fire on 1 October (1st February in our time). The castle has responded with its heavy guns, and it is already clear that the castle is at no real risk. There is at least another week’s worth of ammunition and supples within the castle, so its fall will not come quickly.
Meanwhile, the beginning of a new month triggers the first general recruitment rolls of the game.
The Earl of Loudoun, now active in Inverness for the Government, rolled a 6 to receive a full regiment of loyalist Highlanders under MacLeod of MacLeod. A roll of a 3 then determined that they would march to join the garrison at Fort William, an easy 4 day march.
For the Jacobites, a roll of 4 in their region secured one small regiment, Glenbucket’s, which has left their colonel’s castle for a 4 day march over Glenshee to join Tullibardine at Blair. Lord Lewis Gordon now also holds 2R regiments around Aberdeen.
Further south, the safe arrival of Sir John Cope’s small column – the survivors of Prestonpans – reached Newcastle, where they now form part of the commande of Major General John Huske. This means Cope is relieved of active command and returns to London to defend his reputation! This prompts an opportunity to think about how the game treats commanding officers.

COMMANDERS
Any force containing more than a single regiment must have a named commander assigned to it. Each army has a list of available men suitable for such commands, each of whom has a “command rating” up to a score of 10. The average is 8, with only a few exceptions either way. As tabletop encounters are being played to Warlord’s “Black Powder” rules, orders given by the commanders require a succesful order roll equal to or below that value in order to be carried out succesfully. So a commander with a lower value is more likely to fail to see his orders executed promptly, and is more likely to blunder. Command values can be affected during the campaign by the outcomes of battles, as victories or defeats can affect both experience and reputation.
The Gamemaster is often responsible for assigning commanders, based on geographical availability or their level of seniority, but sometimes they will be chosen as a result of voted decisions.
After the conclusion of a tabletop battle, dice are rolled to determine the immediate affects of the outcome on the armies involved. For example, a defeated army might suffer a total collapse in morale and suffer high desertion rates, or it might rally and make a disciplined retreat. A die roll also determines the fate of the defeated commander: he might suffer a reputation penalty; he could be injured, slowing down his army’s retreat and recovery; or he might even be captured or killed.
A dead commander is of course out of the campaign, and is replaced by a subordinate officer of lower ability until a better commander taken from the list of available officers is able reach the army and assume command.
A captured commander must be escorted by his captors to a garrisoned location, say a fort or a castle. Should that location then be recaptured, or the escorting force intercepted and defeated, the general can be recovered.
Naturally, both armies will want to field their best commanders for major battles. But if they expose them to too much danger, they might well risk losing them altogether…