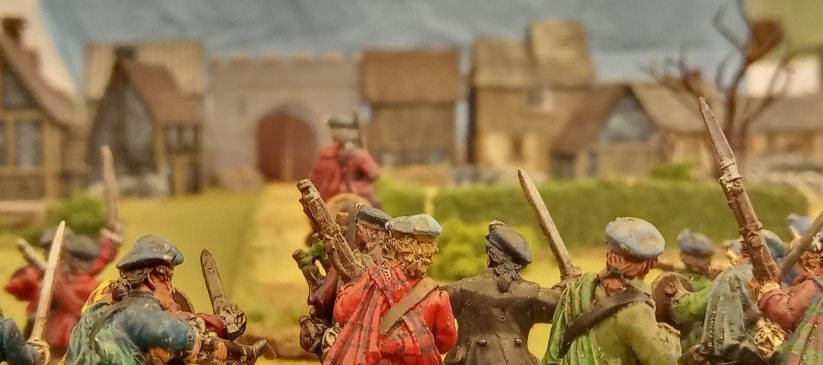
The Duke of Argyll successfully recruited a small militia unit amongst his Campbell clansmen, but in the wake of the Jacobite successes at Highbridge and Ardersier kirk, it was clear he could do little to influence the flow of the war in the Highlands. With Stirling Castle under siege, however, he hoped he might provide some reassurance to the government’s friends by raising further forces in Glasgow. His march there was easy and unopposed, and he succesfully recruited a full regiment of blue-coated militia. But the threat on the Prince’s western flank drew the attention of the Jacobite council, who voted to order Tullibardine south from Highbridge to clear Glasgow of the militia. But Argyll’s determination roll required him to dig in and prepare to hold, despite being outnumbered.

TURN 1: Tullibardine deployed on the western approach to Glasgow. He surveyed the defences and chose to strike at three points: at St David’s Church; the West Port; and the Watergate. Half the Glasgow militia defended the West Port, whilst the other half was ordered to the vulnerable position at St David’s. The Argyll Militia, unsure whether the Jacobites would attack the Watergate or attempt to cross the Clyde and storm the bridge, deployed in the buildings between Stockwell St and Bridgegait.
TURN 2: The MacPhersons set off towards St David’s and divided into two units. The Atholl battalion had also divided, but the force ordered to approach the Watergate was reluctant to move.
TURN 3: The whole Jacobite advance stalls, as the prospect of storming the city daunts them. The delay allows the Glasgow Militia to deploy to advantage in the walled kirkyard at St David’s.
TURN 4: At last the Jacobite assault gets moving again, but the MacPhersons come under fire as they approach the kirk and are disordered. Meanwhile the Glenbuckets attempt to rush the West Port with explosives. Seeing the risk, the Glasgow Militia pull back from the port and deploy on Trongate.
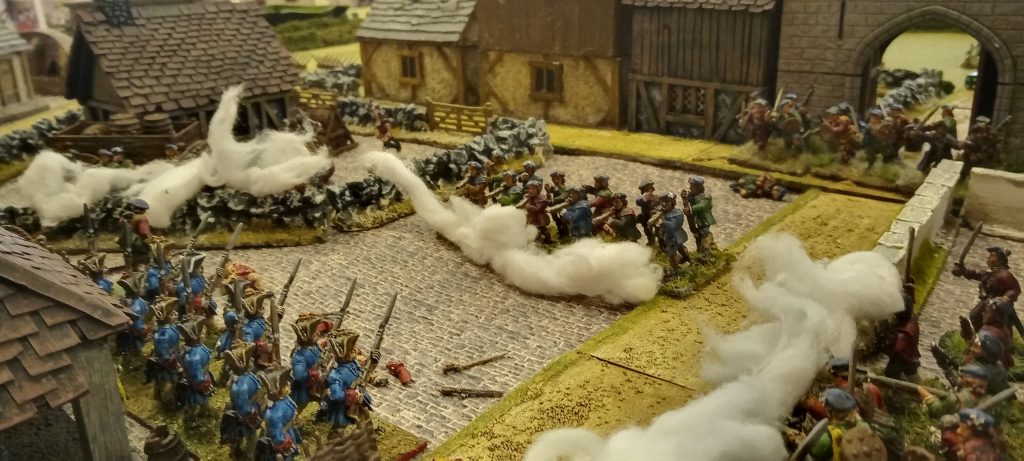
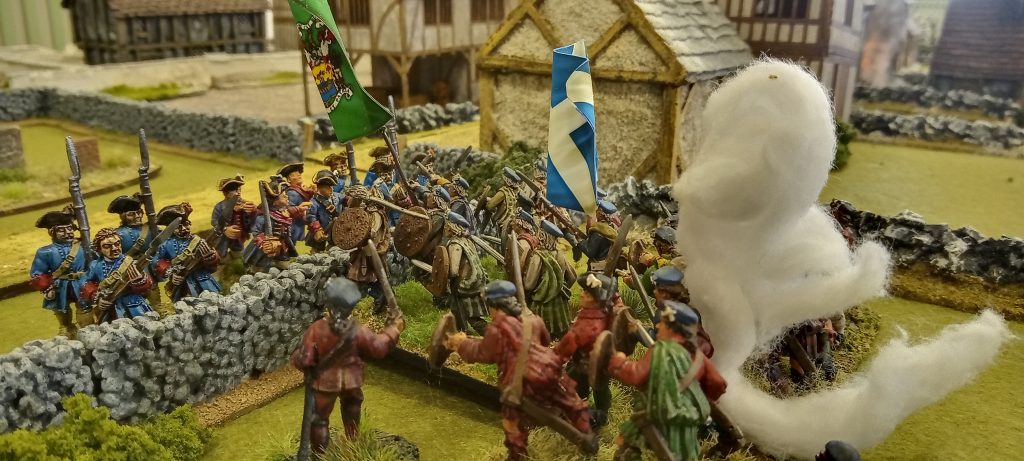
TURN 5: The Glenbuckets successfully blow the West Port, surging through the gate and clashing with the militia beyond, who fell back hurriedly. But the clansmen were now disordered under fire in the streets, with the Argyll Militia moving their weight up Stockwell St to add their fire. The MacPhersons charge the churchyard at St David’s but are checked.
TURN 6: The MacPhersons are locked in a difficult contest at the churchyard, unable to use their greater numbers to drive out the militia. The Athollmen in the centre clamber through the wreckage of the West Port to bring their fire in support of the weakened Glenbuckets. Their comrades in the south reach the Watergate and find it undefended, clambering over the barricades which had been thrown up to delay them.
TURN 7: The fight at St David’s rumbles on to no advantage, whilst the Athollmen are now able to start pressuring the Argyll Militia in Stockwell St from both ends. Tullibardine himself enters the city and successfully rallies the shaken Glenbuckets.
TURN 8: The Athollmen at the Watergate fight their way through the Argyll’s, whose better musket training proves ineffective in the street fight. Meanwhile, a determined attack on St David’s is driven back with heavy losses, and half of Cluny MacPherson’s force is routed. His second section presses forwards nonetheless.
TURN 9: Finally, the surviving MacPhersons break through at St David’s and disperse the remaining resistance. The firefight continues on Trongate, but the Athollmen are now clearing the houses on the southern side to threaten the remaining militia.
TURN 10: The MacPhersons press through the streets, securing the area around the Shawfield Mansion. Tullibardine holds back the Glenbuckets, who are eager to charge and finish the remaining militia, preferring to use musketry to clear the Trongate and preserve his men for the campaign.
TURN 11: Their position untenable, the remaining militia surrender under a whithering fire from three sides. The Jacobites capture Argyll, who is released on parole.
The victorious Jacobites had to fight hard to secure the city, and impose strict penalties on its citizens as a result. The MacPhersons suffered such losses that they are reduced to a small sized regiment for the remainder of the campaign.